a long time ago this photographer said to me, “kamee, at the end of my life i probably won’t even know a quarter of the capacities of this program.” i thought it was crazy at first because he is so ridiculously talented and knows his stuff so well, but the more i play around with the program myself the more i realize that he is totally right: it has abysmal capabilities. i have, however, found a system the works for me, and i feel is consistent with my brand. having said that though i still like to try out new recipes on my images; it’s always fun to play around to get different “feels” with images. i use photoshop action for about 92% ( i wanted to give an original percentage instead of 90 0r 95 or 99. when does 92 get any attention? but it is still a high enough percentage for you to get the idea that i use actions the majority of the time in my post processing to get the look i am after. these are my favorites by far. worth every penny: totally rad actions (i love the revenge set), and kubota (the magic sharp action is genius) i am always interested in learning more about the “abysmal program”, and am so inspired by how so many use it and use it well; it really is such an incredible tool and when it is honed-in properly can add just that little extra “ummmfff” to your photos to make them pop.
in terms of the technicalities i shot these with my 5d and i was shooting in manual mode.
the first was shot about 30 minutes before sunset. that provides images with that really nice buttery light that is so delicious and incredible it also helps give some really great sun flare.
my settings were 50mm 1.2, 1/1300 sec, iso 200
this is the image sooc
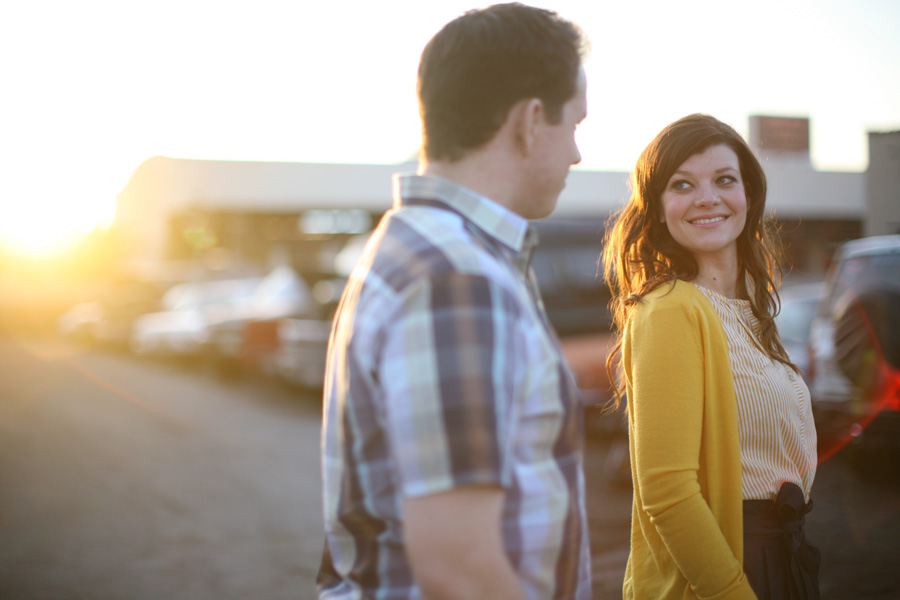
after pulling it up in photoshop i:
ran ying/yang (on the light layer with my brush set to 13% opacity; i ran the brush over the entire image to lighten it a bit.)
then i hit pool party (i use this on almost everything 😉 LOVE IT) and adjusted the opacity to 20%,
daily multi-vitamen next,
claire-ify-13%
contrast 63%
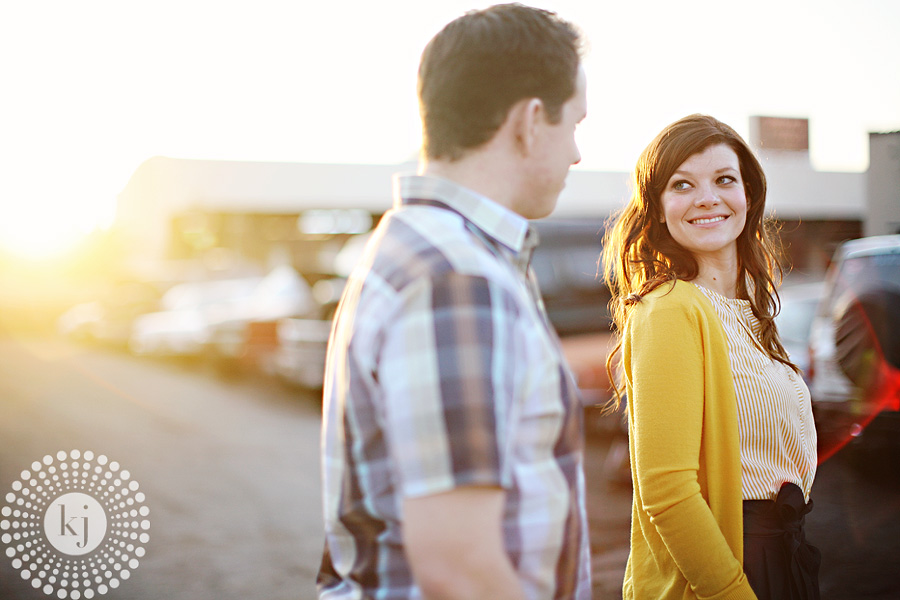
and to finish it off i played a bit in curves, then i flattened the imaged, magic sharped it, sized it for web, added the watermark, and…
baammmm! not bad! 😉
for this one i shot the image in open shade, but our light was the same as above, 30 minutes before sunset. specs: 35mm 1.4 (love this lens!!), 1/800 sec, iso 200
sooc
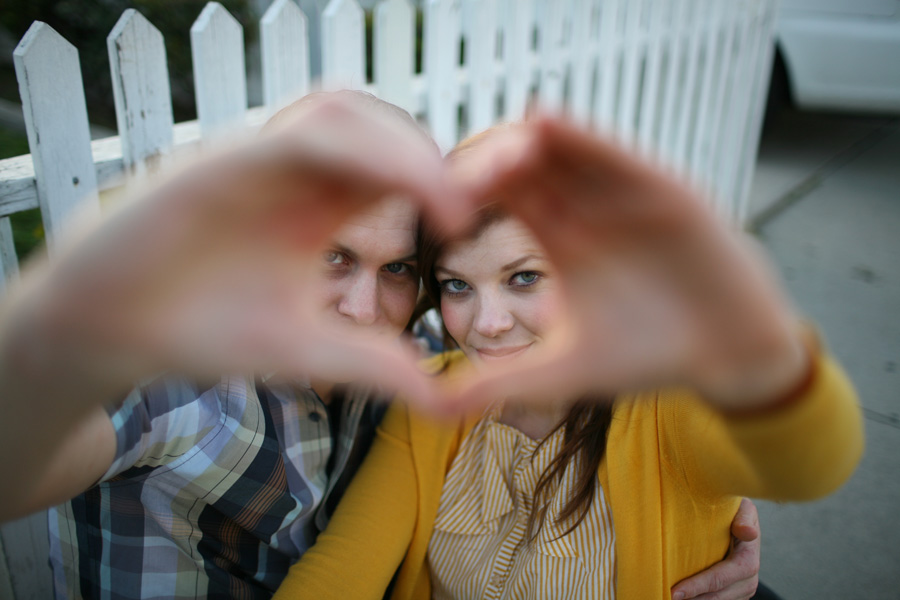
i want my images to be consistent especially when they are from the same set, but sometimes they don’t all need the same “stuff” to make them cohesive.
i started by cropping in on the image just a bit the i touched- up just a teeny tiny bit with the clone stamp set at 10% opacity. (you want to be good to your clients, but don’t make them look fake or plastic-y. a brush set at a lower opacity will help with this for sure!! ;))
then i played yin/yang and on the light layer set the brush to 13% and brushed over the entire thing.
then pool party at 20%
contrast 45%
claire-fy at 61%
i played a bit in curves
hit magic sharp, sized it for web, slapped down the watermark, and
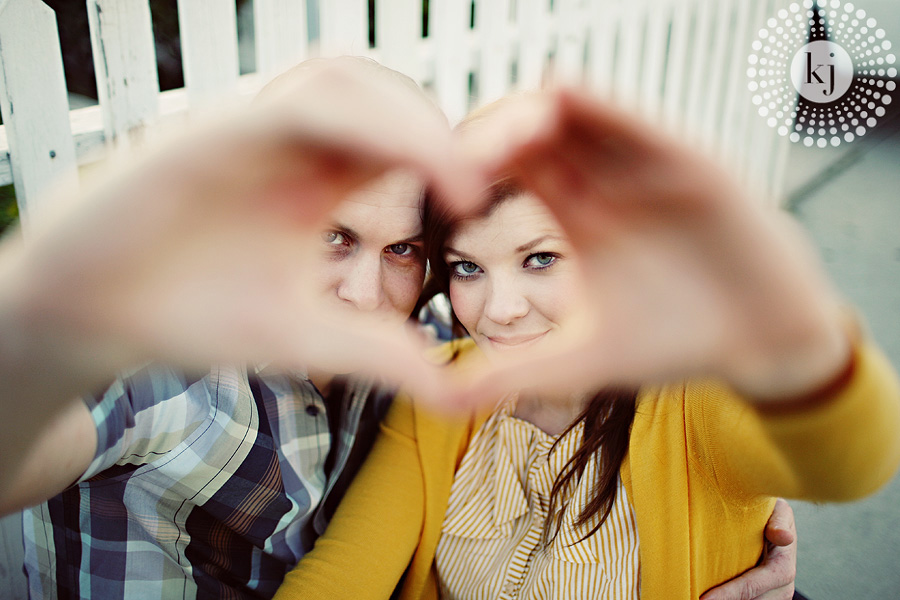
wa-la…something sweet…(ps this was rachael’s totally awesome idea!! 😉 i thought it was fantastic!)
this one was shot in full shade, but the building’s windows behind me were providing a really cool reflector light! i loved it! specs: 35mm 1.4, 1/800sec, iso 200
sooc
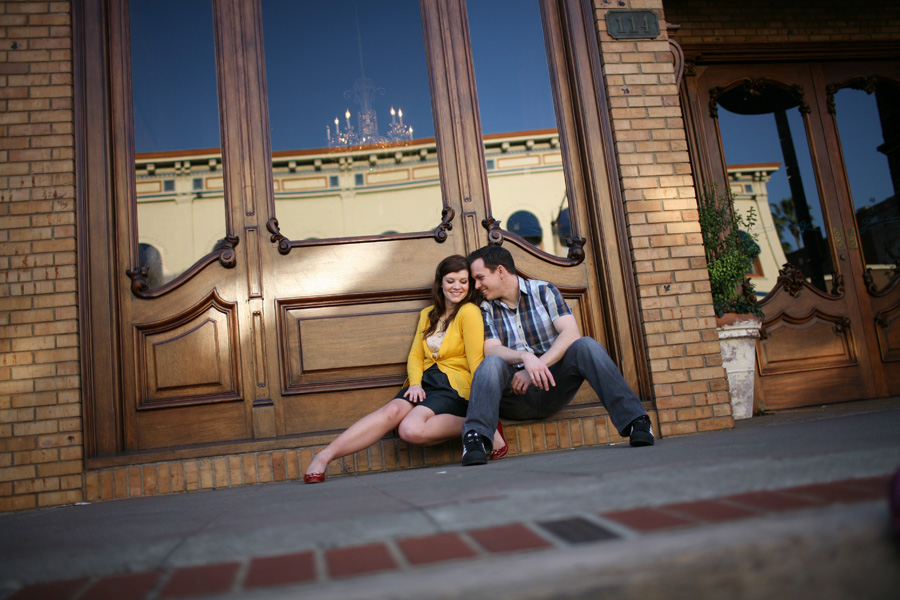
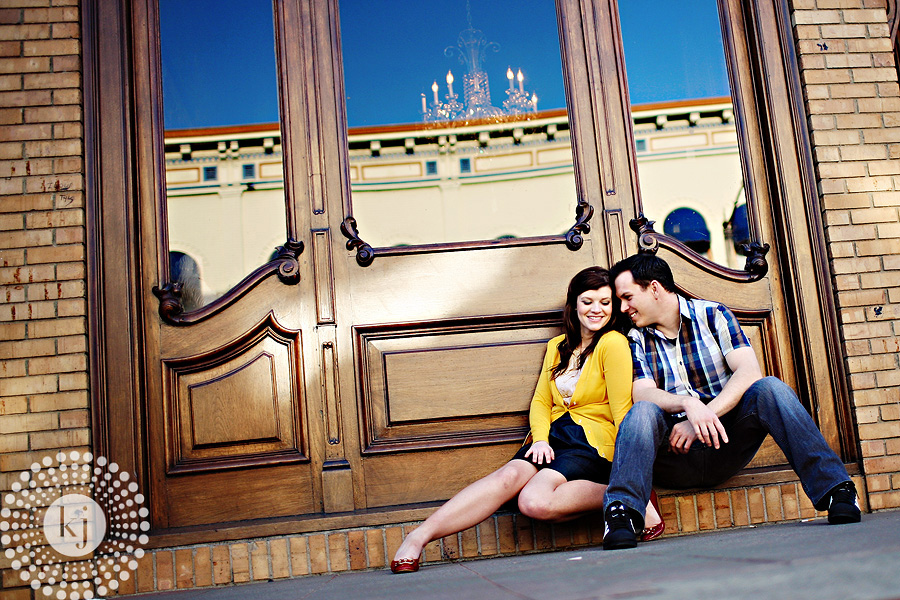
i cropped it first because i wanted to get in closer to the action. (there are so many things i love about this image! even sooc it is super, ultra cool to me!! the chandellier in the window is awesome! not to mention the two of them…gheessh! so beautiful!)
then i used ying/yang to lighten the image a bit (set the brush to 20% and in the lighten layer rolled over the entire image)
pool party at 20%
contrast 30%
wish you were here (this brings out cool blues, but watch the opacity for sure) 36%
claire-ify 70%
then i played with curves, sharpened the image with magic sharp, sized it for web, watermarked it, and…
these next example isn’t from this session, but someone asked if i would show what went down behind the scenes with this image. of course, be happy to! 😉
this was from my first arizona shoot. shot with some backlight actually, but i am in so close you can’t really tell. specs: 50mm 1.6, 1/2000, iso 100
sooc
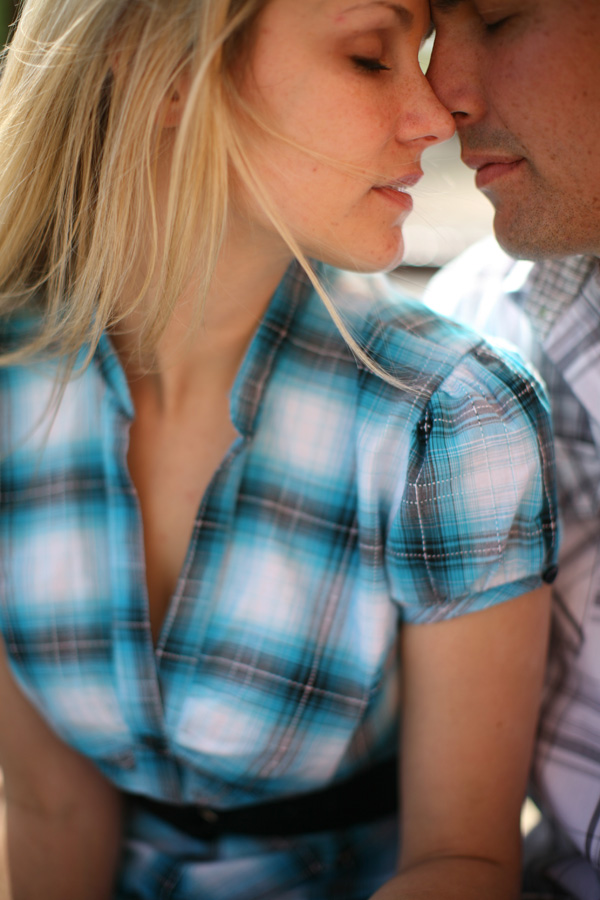
i shoot my images wide open (that means with a really small aperture (small number- large opening, everything is opposite! ;))) because i like how that helps to smooth things out a bit. it makes for really nice soft skin. like i said before you want to be good to your clients, but still showcase them how they really are.
i touched things up just a bit with the clone stamp and also with the action pro-retouch at about 12%
then i ran pool party at 40%
daily multi-vitamen (this only allows you to run at 100%)
claire-fy 15%
i played with the dials in color balance a bit to adjust the cyan and blue
pulled the curves, magic sharped it, sized for web, added the watermark, and
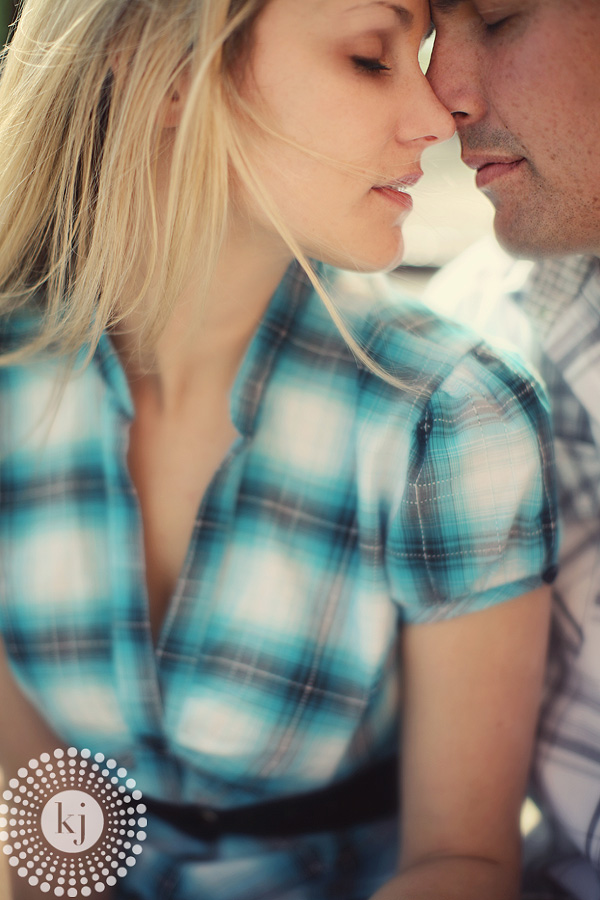
just a little bit of love to each image adds a certain punch!
hope this was interesting and helpful! 😉
i would love to help if you have any photoshop questions i would be more than willing to share what i know or help you find the answer in the abyss! 😉